Good afternoon, my dear vixens! Today, a rare and wondrous thing is happening, I'm showing you a dress I made last week. To those of you who plan out blog posts weeks ahead of time and are extra-meticulous about scheduling, this probably doesn't seem like a big deal. I am not that fastidious of a blogger, however. Usually, I make a thing, get absurdly excited, photograph it the very next morning/sunset, and throw it on the blog.
Last week, however, I made this McCall's 6696 and let it linger. It was made in a fit of anxiety, before my dissertation defense. There was no more practicing to be done, no more prep to be written, and I wanted--no, desperately craved--something to do with my hands. A certain beloved bearded one even compared me to a hawk circling a family of tasty, defenseless mice. The words "glinty eyed" and "terrifyingly focused" were used more than once, in the soothing tones of someone talking to a stray tiger.
I'm told all these pre-defense comparisons to carnivorous beasts are normal. I'm certainly going to pretend they are, anyhow. Luckily for us all, I had this dress to funnel all that terrifying focus into. By the morning of my defense on Tuesday, I had everything but the buttons and button-holes done on this beauty. Well done, nerves!
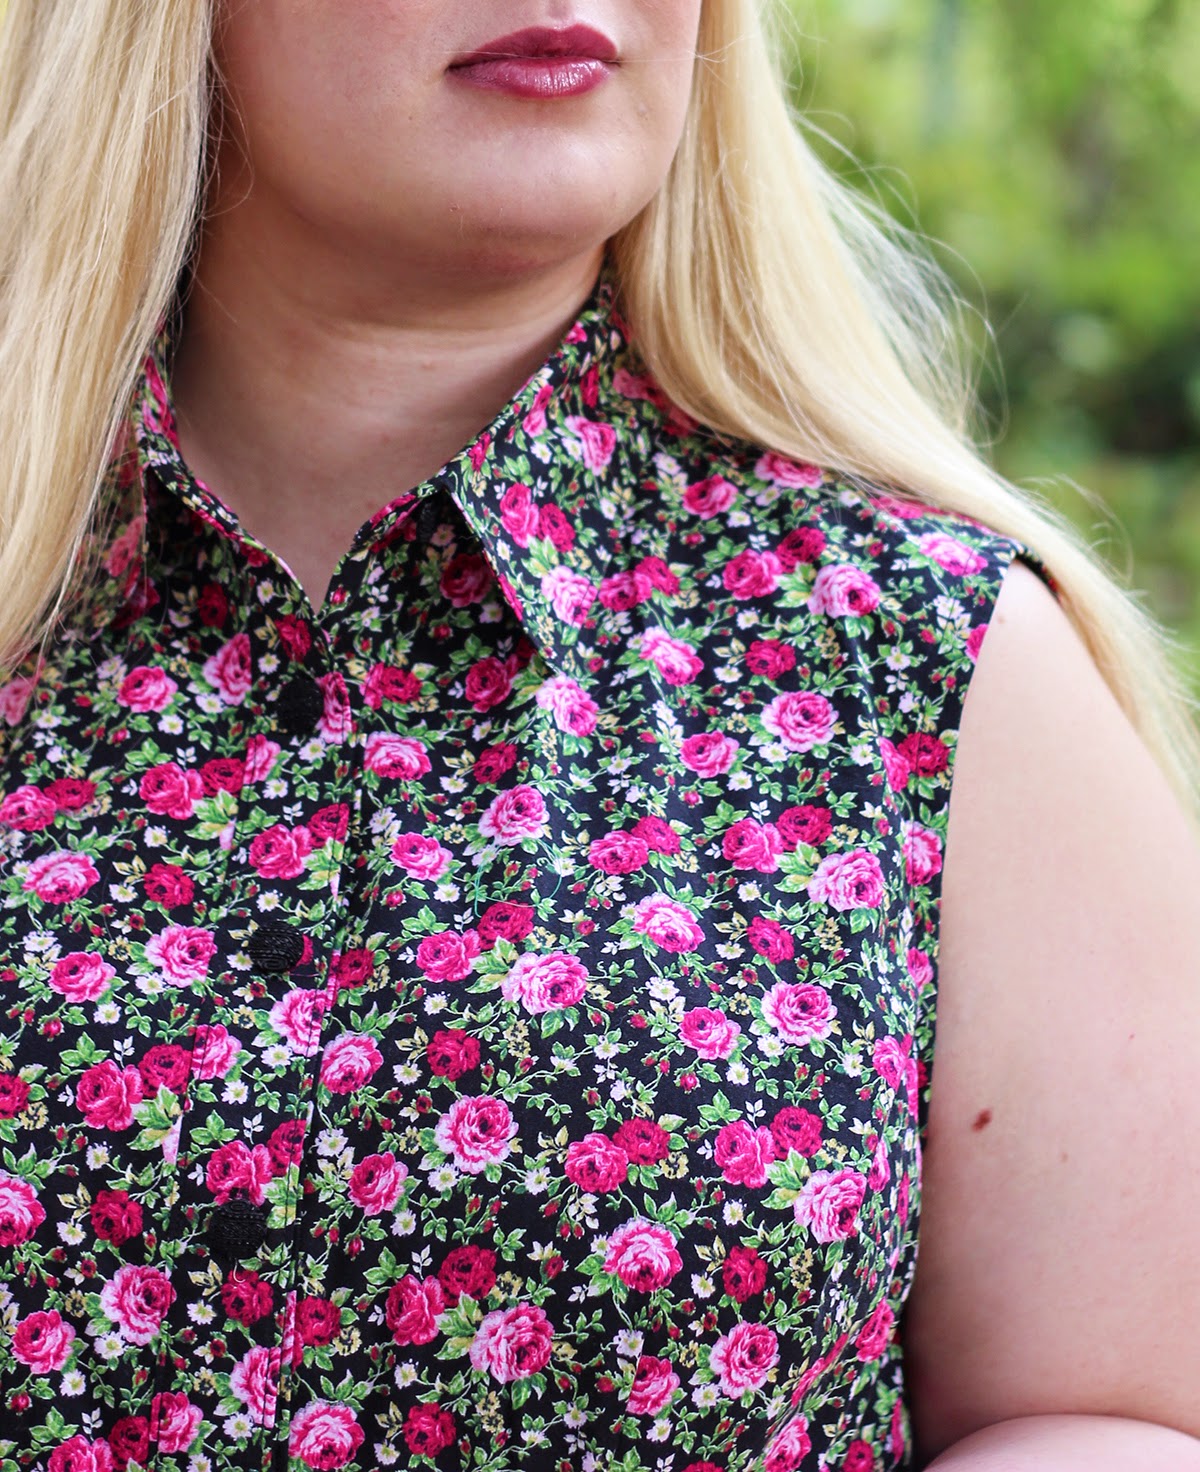
This therapeutic fabric, a pink rose print on black cotton poplin, was bought on Goldhawk Road during my last trip to London, in the summer of 2012. I came back with an embarrassing twenty-one meters of fabric from that trip, but have only made two pieces so far. The other fabrics--all florals, of course--just sit in my closet, waiting for patterns tempting enough to bring out the scissors. After the success of my first 6696, I knew this one would be a worthy sacrifice.
With three meters of 50'' fabric, I had barely enough for the full-skirted view of this dress. The back bodice and inside collar bands had to be cut in pairs, instead of cut on the fold, but neither change bothered me overly much. Even better, this fabric is impervious to fraying, which meant bringing out the pinking shears for the inside finish. Woohoo! I used to never pink things, but after snooping inside some handmade vintage pieces, I've come around on the simplicity of that finish.
Elsewhere on the inside of the dress, I used pink cotton shirting for the waistband facing, yoke facing, and bias bound armholes. As is glaringly obvious from the dress guts picture above, I cut the bodice back on the selvage and left that finish alone. That pop of white inside might bother some, but I love the efficiency of using selvages, whenever possible. Plus, let's be honest, I have a soft spot for those damn dots. (This selvage dress remains the coolest thing ever sewn.)
The buttons for this project were cannibalized from my first Darling Ranges dress, which after one season became completely unwearable. The fabric not only shrank, but thinned out enough that, when my pocket caught on something, the whole right side ripped open. Sigh. Sam convinced me not to throw it out, during my last closet purge, insisting that I could probably use the buttons for something. Lo, behold! I still loved these decorative little black buttons and they were perfect for the femininity of this fabric.
Construction on this dress was time-intensive, but pretty blissful. The fabric pressed and sewed beautifully, the collar turned perfectly, and it was exactly the sort of detailed project I needed. Once again, I top-stitched the entire collar, collar stand, and button bands, to avoid even more hand-stitching. After buying an edge stitching foot a few months ago, I'm a total top-stitching convert! I love the added detail and it's so, so much quicker than slip-stitching for hours.
The only real difference between this dress and my last 6696 is the fit. Instead of using the straight 22 D-cup bodice, then grading down to a 20, I used the straight 20 everywhere and performed an FBA. The bodice fit is just a bit better and required no after-the-fact dart manipulation. Huzzah! No one else noticed the bust blousing, but I was so happy to banish it. Additionally, I raised the armhole an inch, to prevent the dreaded bra peep. The fit is so spot-on now. Go Go Gadget Happy Dance!
Incidentally, while I was sewing this up there were some pattern issues I realized didn't get mentioned in my original review. First off, there is a discrepancy between the number of belt loops you're supposed to cut and how many markings there are on the waistband. It says you need four, but you definitely need six: two on the front, two on the side seams, and two on the back. I checked the pattern line drawing and everything. Six, six, six! Additionally, the center marking on the collar band is not actually on center. This doesn't matter much, because you should always double check your center, before you sew anyhow. Make sure your two bands are in the same position up front, then you're golden.
 |
| Hey Mary! Why is your hip-to-waist ratio so insanely large? *turns to the side* *Bootylicious mysteriously begins to play* |
Oh, and just one more thing...
MY DEFENSE WAS SUCCESSFUL!
In other words, you rock and I love you all!


No comments
Post a Comment